


How to Make the Creamiest Chocolate Ice Cream at Home?
11
0
·
2025/07/24
·
4 mins read
☕
WriterShelf™ is a unique multiple pen name blogging and forum platform. Protect relationships and your privacy. Take your writing in new directions. ** Join WriterShelf**
WriterShelf™ is an open writing platform. The views, information and opinions in this article are those of the author.
Article info
Categories:
⟩
⟩
Total: 753 words
Like
or Dislike
More from this author

More to explore

Introduction:
Making your own chocolate ice cream is more than simply a dessert. The procedure is fascinating because you can smell the melting chocolate, taste the custard right out of the churner, and mix it thoroughly. If you've ever wanted to, you can make creamy, tasty chocolate ice cream. With help and the appropriate guidance, you can make a large amount of creamy, delicious ice cream that is just as good as that from an ice cream store.
Choosing the Right Ingredients for Creaminess
Ultra-creamy chocolate ice cream comes from the quality and balance of components. You need to choose dairy, sugar, and eggs carefully to make a thick, smooth ice cream base. High-fat dairy products like heavy cream and whole milk prevent large ice crystals and make food taste better. Two parts cream to one part whole milk is a good rule.
Chocolate quality matters too. Dark chocolate and cocoa powder provide richness. Its smooth taste and rich colour distinguish Dutch-processed cocoa. An excellent bar of dark chocolate should melt smoothly and contain 60–70% cocoa content for a robust chocolate taste. Avoid compound or low-quality chocolate, which can be grainy or waxy.
Sugar adds sweetness and prevents ice crystals. Some corn syrup or invert sugar helps smooth the sugar. Ice cream is smoother directly out of the freezer since these sugars lower the freezing temperature.
Emulsifiers like egg yolks stabilise and level out water and fat. The ice cream becomes richer and thicker like custard. A custard-style foundation with egg yolks is creamier than one without eggs or Philadelphia-style sundaes ice cream.
Straining and Chilling the Base
Carefully sift the custard foundation through a fine mesh strainer before churning. This stage removes unmelted cooked egg and chocolate to provide a smooth, uniform consistency. The strained base should be placed on a clean dish and covered with plastic wrap to prevent skin formation.
Proper cooling is required for the right texture. Place the foundation in the fridge for four to six hours or overnight. While resting, the tastes blend and the fat hardens, making whipping and churning easier. Never rush this stage since a warm or cold foundation won't freeze well and may be frosty.
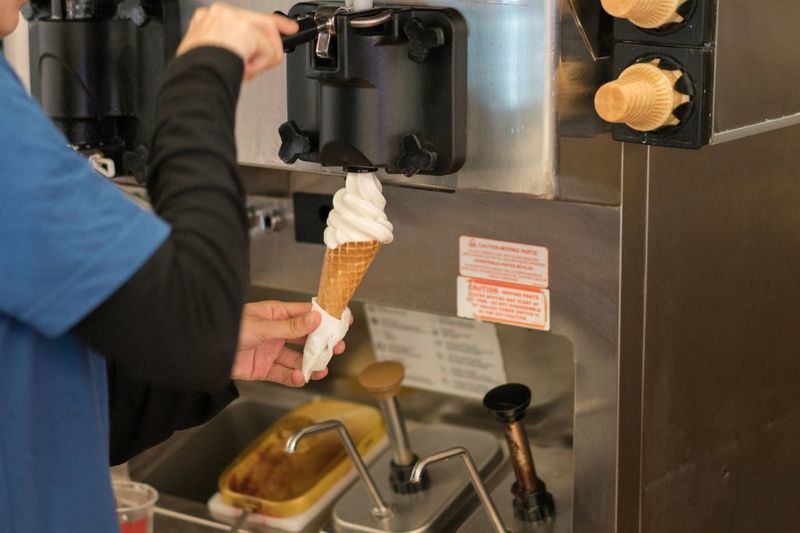
The Churning Process
Air is added to frozen custard by churning. It makes light, scoopable ice cream from liquid foundation. Because it's easy and reliable, most people make ice cream at home with an electric machine. Unless it has a built-in refrigerator, freeze the bowl for 24 hours before using your ice cream maker.
Add the chilled base to the ice cream machine and churn as directed. Usually 20–30 minutes. As it obtains air, the ice cream should double in size. A proper churn breaks up ice crystals and distributes fat molecules, making it thick and creamy.
Avoid over-churning, which may make food taste fatty or buttery. When it looks like soft-serve ice cream, the mixture is done: stiff enough to hold its form but soft enough to bend. To freeze more, transfer the ice cream to a container.
Freezing for the Perfect Scoop
Churned ice cream tastes great coming out of the machine, but it tastes better after freezing. Put it in an airtight container and cover it with parchment or plastic wrap promptly to prevent freezer burn. Freeze for 4 hours before scooping.
Metal or glass containers keep items warmer than plastic ones. Ice freezes uniformly and scoops more easily in a shallow, wide container. Before serving, let the ice cream sit at room temperature for 5–10 minutes. Making it softer improves its taste and texture.
Why Homemade is Worth the Effort
Making homemade smooth chocolate ice cream takes work, but it's worth it. The materials, chocolate intensity, and ultimate product texture are your choices. Every batch can be black, sweet, or swirly and chunky.
With homemade ice cream, you may experiment. Dairy-free choices include coconut milk and cashew cream, while natural sweeteners reduce sugar. Custard may be used to produce many kinds of frozen art.
Conclusion:
Paying attention to details is more important than the recipe. Letting the custard thicken just so, adding real chocolate, letting the base chill, and knowing when to churn your ice cream all add up to greatness. And the biggest part? After learning the basics, you can accomplish anything. Change the taste, add your favourite additions, or enjoy it as is: handmade chocolate bliss. Grab a whisk when your freezer is empty instead of shopping. To make ice cream.
Also, read: Principles you must follow to lead a successful dairy business